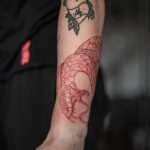
Hi friends! Whether you’re a tattoo artist inking up fresh designs or a tattoo enthusiast thinking about your next piece, you’ve probably heard about liner machines. But what exactly are liner tattoo machines, and why are they such an indispensable tool for artists?
What is a liner tattoo machine?
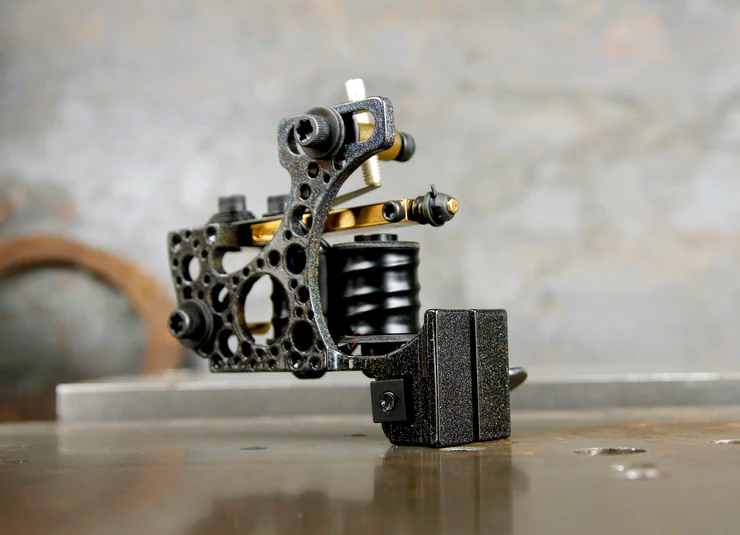
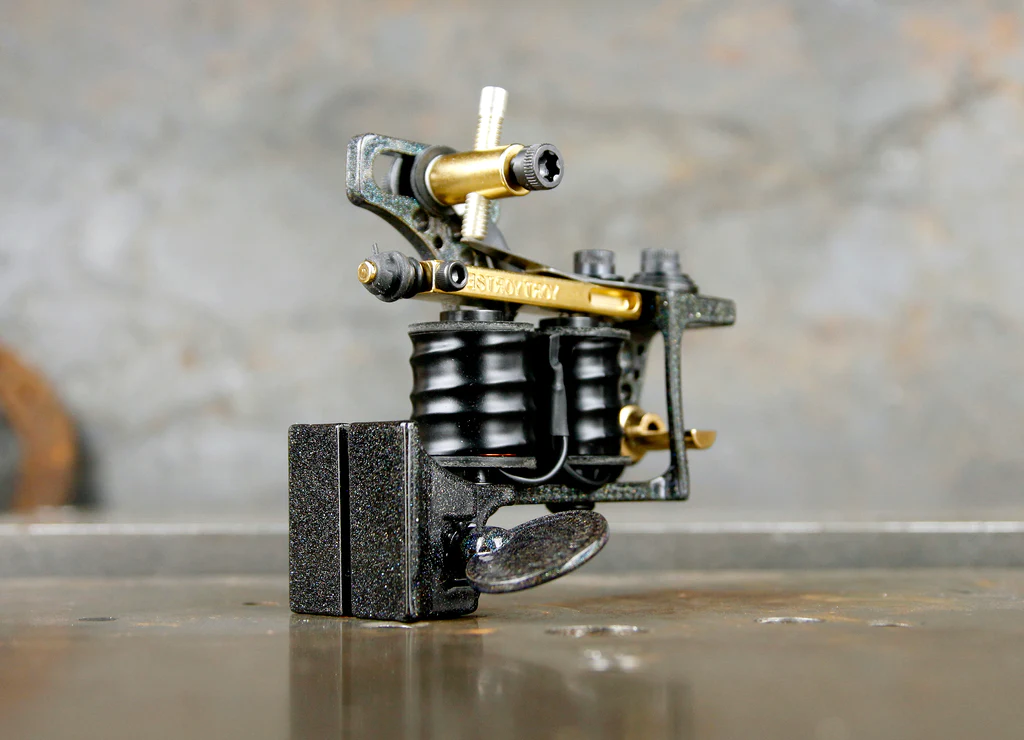
A liner tattoo machine, also called a tattoo liner machine, is a special type of tattoo machine used to create thin, crisp lines and fine detail in a tattoo. Liners have a unique design that allows the artist to easily tattoo intricate patterns.
Ever wonder how tattoo artists manage to create such impossibly fine, intricate designs like single needle micro tattoos, detailed mandalas, and photorealistic portraits? The secret lies in the tattoo machine itself—specifically, the liner machine.
Unlike standard tattoo machines that use needle groupings, liners utilize individually soldered needles that can move independently and make incredibly narrow, precise lines. With the ability to control depth, speed, and needle precision, artists can achieve breathe-taking detail in their work.
We’ll explore the components, techniques, and benefits that make liner machines a tattoo artist’s best friend. From coil vs. rotary models to needle configurations and depth adjustments, we’ll uncover everything you need to know about liners.
How Liners Create Crisp, Thin Lines
Unlike shading needles that are grouped together, liner needles are soldered individually into the needle bar. This allows the needles to move independently and make very narrow, defined lines. The needles are also very thin—usually just a single needle point.
By adjusting the contact screw on my liner machine, I can control the needle depth, speed, and precision. This gives me more control over the needle strokes compared to other tattoo machines. I’m able to tattoo very slim lines, down to a single point!
What are the different types of liner tattoo machines?
There are a few main types of liner tattoo machines:
- Coil machines – These work through electromagnetic coils and are the most common type of liner. They provide excellent control and precision.
- Rotary machines – These use a rotary motor and are lighter and quieter than coil machines. Great for lining but require more maintenance.
- Pneumatic machines – Powered by an air compressor, these are smooth and consistent but not as popular today.
I prefer coil liner machines for their durability, precision, and familiar feel. But many artists like the modern benefits of rotary liners too. It comes down to personal preference and finding the right machine for your tattooing style.
What are the best techniques for using a liner tattoo machine?
- Use a light touch – Don’t press too hard when lining or you can cause blowouts. Let the machine do the work. A gentle, consistent hand is key.
- Stretch the skin – Pulling the skin taut helps the needle glide smoothly and prevents the skin from bouncing back. Always keep one hand stretching while lining with the other.
- Work at the right angle – Angle the machine 45-60° to the skin. Go perpendicular to the line you’re tattooing for the cleanest application.
- Mind your needle depth – Adjust needle depth so it’s fully in the skin but not going too deep. About 1/16th of the needle should be inserted.
- Move at a consistent pace – Work at a steady, fluid speed without rushing. This will ensure smooth, consistent lines.
- Maintain proper hygiene – Disinfect machine, clip cord, grip, etc. after each use to prevent cross contamination.
- Use the right needles – Try different groupings and point styles to get your ideal line variation. Play with needle groupings and point styles.
- Apply a thin coat of Vaseline – Lubricates the skin and allows the needles to glide easily for a smoother tattoo application.
- Do multiple passes if needed – For thicker lines, do 2-3 passes while the skin is still numb and inflated.
- Take breaks to rest your hands – Lining requires precision and can cause hand cramps. Take breaks as needed.
Following these tips will help you master control of the liner machine and achieve eye-catching precision in your tattoo linework. With practice, it will become second nature.
How do you maintain and clean a liner tattoo machine?
- Disassemble the machine – Take apart the machine components (contact screw, coils, grips, etc) for thorough cleaning access.
- Remove needles – Always remove used needle cartridges and dispose of properly in a sharps container. Never reuse needles.
- Clean with ultrasonic cleaner – Use an ultrasonic cleaner with tattoo machine solution to deep clean grime. Soak 5-10 minutes.
- Scrub external surfaces – Use a soft brush and mild soap to manually scrub the machine frame, grips, and other external parts.
- Disinfect machine – Wipe down all components with EPA-registered disinfectant like Rescue or a diluted bleach solution.
- Lubricate moving parts – Apply tattoo machine oil to the contact screw, coils, springs etc. Avoid over-oiling.
- Inspect for damage – Check for any worn parts like loose screws or damaged coils and replace if needed.
- Reassemble carefully – Put all the cleaned components back together, aligning the contact screw properly.
- Test machine – Give it a test run before use to ensure smooth operation. Adjust spring tension if needed.
- Store properly – Keep machine in a protective case away from dirt, liquids, heat, etc when not in use.
Proper liner machine maintenance and cleaning after each use helps prevent machine issues, cross-contamination, and gives you the best performance. Be diligent and your machine will reward you with years of great linework!
The Importance of Quality Liner Tattoo Machines
After going over the key components, techniques, and maintenance steps, it’s clear that liner machines are a vital investment for tattoo artists. While they require care and precision to master, a high-performing liner allows artists to create exquisite details and thin graphic lines. This expands the possibilities for intricate new tattoo designs.
However, all liner machines are not created equal. Do your research to find a liner that fits your budget but doesn’t compromise on quality. Pay attention to needle configurations, precision, and power when selecting a machine. Consider talking to fellow artists about brands and models they recommend.
Take the time to properly tune and break in new liner machines as well. Always disassemble, clean, and lubricate your machine after each session. Replace worn parts as needed. Well-maintained machines will lead to years of flawless lining work.
If you’re new to liner tattooing, be patient with yourself during the learning curve. Adjusting needle depth, speed, and grip takes practice. Use fake skin to build confidence and muscle memory before working on clients. With consistent effort, liner machines will soon feel like natural extensions of your artistic skills.
The crisp, eye-catching linework liners provide is worth the investment. By fully utilizing these machines’ potential, your tattoo art will reach new heights. So pick up those liner machines and start inking!
FAq
The main difference is in the needle configurations. Liner machines use individual needles while shaders have needle groupings. Liners allow for more precise, thinner lines. Shaders cover more skin area for gradient shading.
Most liner machines run ideally between 6-8 volts. Lower voltage gives more control, while higher voltage provides more power. Adjust within this range for your machine.
Set your machine to around 100-120 Hz for lining. Faster frequency allows the needles to quickly puncture the skin for crisp lines.
Use around a 3.5 to 4 mm stroke/gap for lining. This gives the needles enough room to move smoothly without binding.
Linework and shading are both uncomfortable. However, shading tends to be slightly more painful as the multiple needles cover a larger skin area at once.
Yes, you can use a single machine for both if it’s properly equipped. Use liner needles for lining and switch to shader needles for shading. Adjust machine voltage/frequency between the two.

